
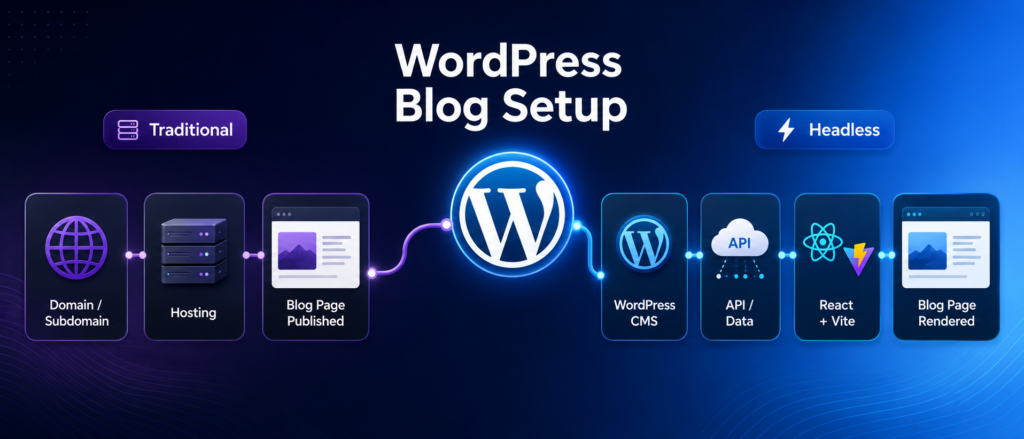

In this blog, I am going to share how I create a setup for a blog page from WordPress. The step-by-step implementation of WordPress on Hostinger or the traditional way.
Challenges
a) What problem did I face?
b) Where do you have to be careful?
c) Why do we need WordPress when we have the sanity and others?
1. Architecture Overview
| Approach | Best For | Primary Advantage |
|---|---|---|
| Traditional Subdomain | Marketing speed, low-overhead publishing, separate team management. | Zero developer dependency for writing and design updates. |
| Headless WordPress | Maintaining a React/Vite unified codebase, fast Core Web Vitals, custom animations. | Total control over the frontend UX within the existing stack. |
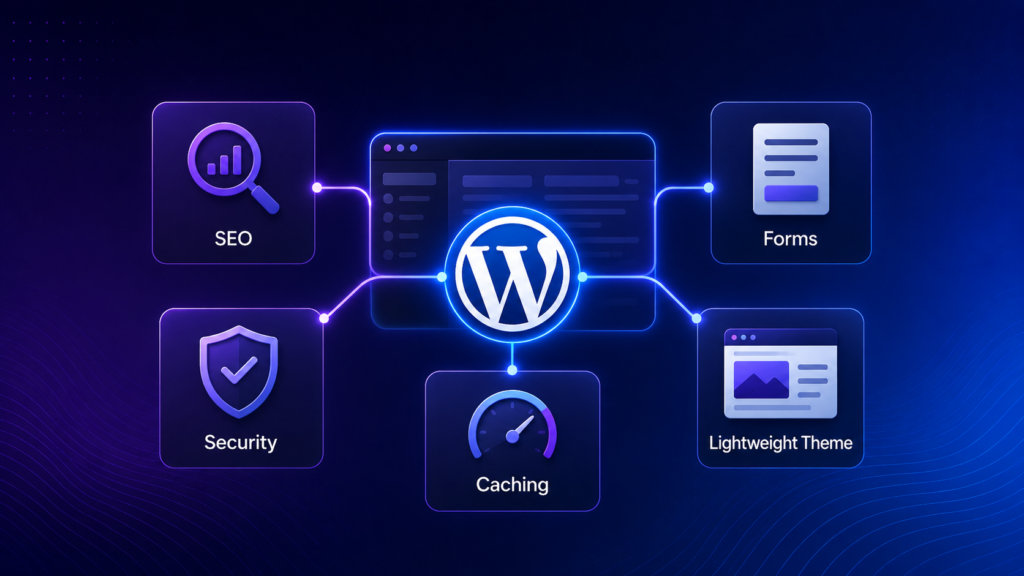
2. Firstly, we are going to discuss the traditional way of setting up
2.1 Traditional subdomain approach
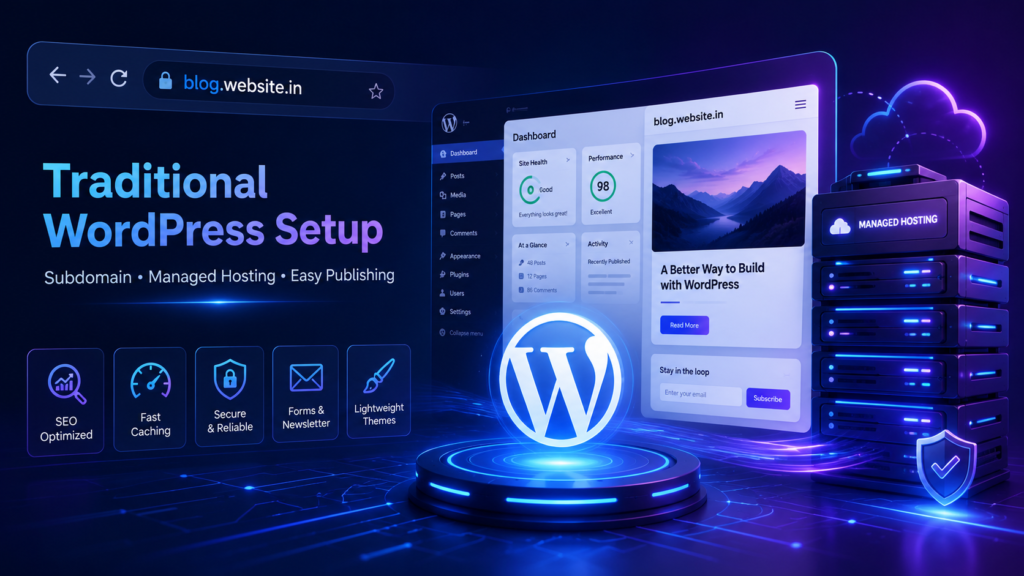
This approach is best if you want a standalone, near-zero coding, and a marketer to take over completely
Step1 – DNS and Subdomain Approach
1. Log in to the domain registrar where your website is managed
2. Navigate to the DNS management panel
3. Add a new A Record with the following configuration
Host/Name: blog
Value/Point to: The IP address of your dedicated hosting server
TTL: Automatic or 1 hour
Answer to question no 1.2 :
Where do you have to be careful?
If you are using Hostinger, then you must create a subdomain first. Failing to do so causes the installation to shift your primary domain link, potentially breaking your website’s accessibility. If this happens, then see the ‘Complete solution’ section at the end of this guide for steps to resolve it.
Step2 – Set up managed WordPress hosting
1. Purchase a specialized hosting plan (e.g Hostinger, HostArmada, or managed VPS via Cloudways)
2. Select Install WordPress when provisioning the environment
3. When prompted for the installation domain, specify blog.website.in
4. Securely save the WordPress administration credentials
5. Verify that a free SSL certificate(HTTPS) is auto-generated and active
Step3 – Core Configration & Cleanup
1. Log into the dashboard at blog.website.in/wp-admin
2. Navigate to Settings>Permalinks and update the structure to Post name for clean SEO-optimized URLs
3. Go to the plugin menu and remove the default bloatware like Hello Dolly
Step4 – Essential Plugin Installation
To prevent performance degradation, restrict active plugins to the core essentials
– SEO: Rank Math or Yoast SEO for automatic sitemaps and metadata control
– Caching &Optimization: LiteSpeed and Cache or WP Rocket
– Security: Wordfence or Solid Security to prevent automated brute-force scripts
– Forms: Fluent Forms for newsletter capture and lead generation
Step5 – Themes
Avoid complex visual page builders like Elementor if page speed is a priority. Choose a lightweight native block-editor theme such as GeneratePress, Astra, Kadence
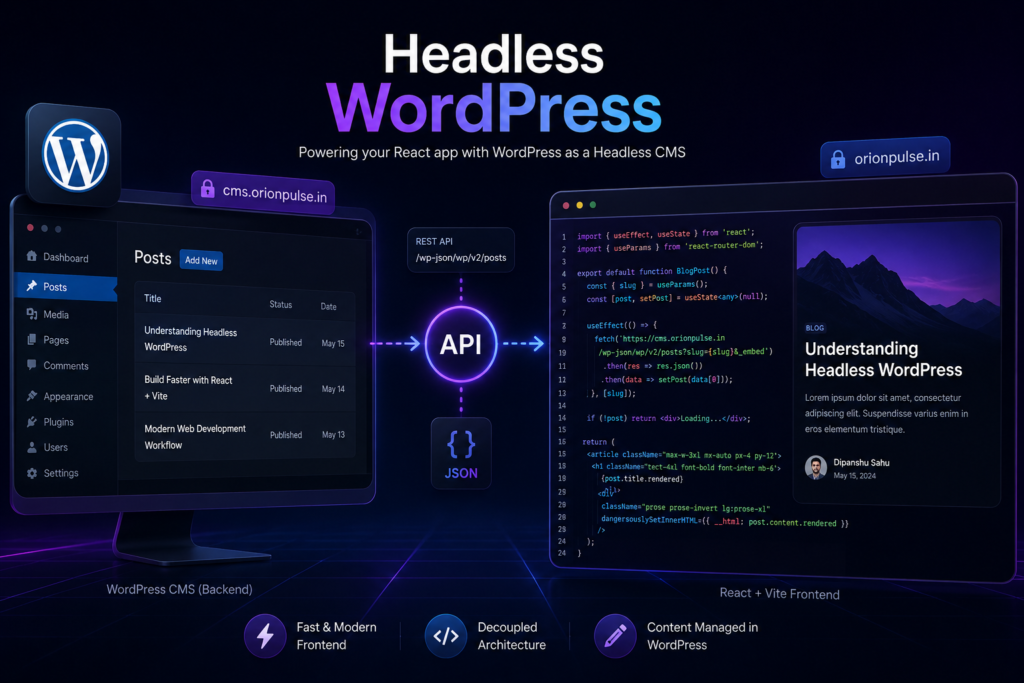
2.2 Route 2: The Headless WordPress Approach
Best if you want to keep this inside of your main React application while providing the writer a familiar dashboard interface
Step1 – Provision of CMS backend
Follow the hosting setup instructions, but isolate the installation on an internal subdomain like cms.website.in or api.website.in where the content writer will perform daily operations.
Step2 – Expose the REST API or GraphQL endpoint
WordPress natively exposes JSON data out of the box via
https://cms.website.in/wp-json/wp/v2/posts. If your React architecture benefits from GraphQL, install the WPGraphQL plugin to establish a schema layer
Step3 – Fetch Data in React + Vite
Implement a data-fetching service within your TypeScript source files to pull asynchronous content:export interface Post {
id: number;
title: { rendered: string };
content: { rendered: string };
slug: string;
}
export const getBlogPosts = async (): Promise<Post[]> => {
const response = await fetch('https://cms.orionpulse.in/wp-json/wp/v2/posts?_embed');
if (!response.ok) throw new Error('Failed to fetch blogs');
return response.json();
};
Step 4 – Clean Rendering with Tailwind Typography
Since WordPress outputs database entries as raw HTML strings, safely render them into your template layout while utilizing Tailwind’s prose capabilities for layout formatting:
import { useEffect, useState } from 'react';
import { useParams } from 'react-router-dom';

export default function BlogPost() {
  const { slug } = useParams();
  const [post, setPost] = useState<any>(null);

  if (!post) return <div>Loading...</div>;

  return (
    <article className="max-w-3xl mx-auto px-4 py-12">
      <h1 className="text-4xl font-bold font-inter mb-6">{post.title.rendered}</h1>
      <div
        className="prose prose-invert lg:prose-xl"
        dangerouslySetInnerHTML={{ __html: post.content.rendered }}
      />
    </article>
  );
}
3. Operational Guidelines
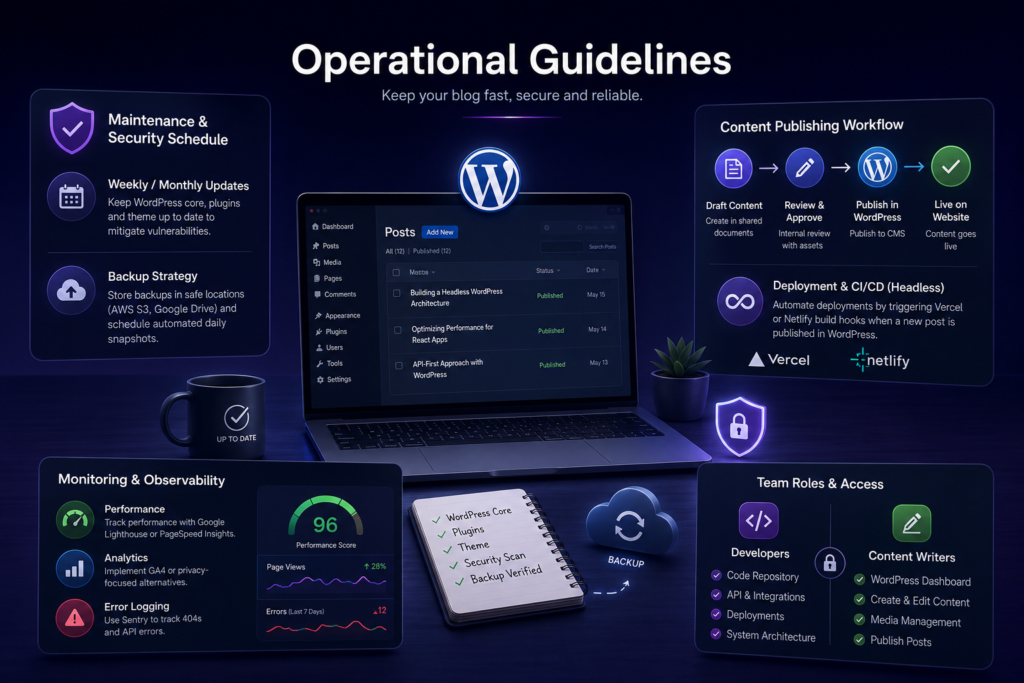
3.1 Maintenance & Security Schedule
Weekly/Monthly Updates: Establish a checklist for updating WordPress core, plugins, and theme to mitigate vulnerabilities.
Backup Strategy: Document backup storage locations (e.g., AWS S3, Google Drive) and schedule automated daily snapshots.
3.2 Content Publishing Workflow
Define the workflow from drafting content in a shared document (e.g integrating with assets like) to publishing in WordPress CMS
Deployment & CI/CD (for Headless)
Include a strategy for automated deployments, such as triggering Vercel or Netlify build hooks whenever a new post is published in WordPress.
3.3 Monitoring & Observability
- Performance: Track metrics using Google Lighthouse or PageSpeed Insights.
- Analytics: Implement GA4 or privacy-focused alternatives.
- Error Logging: Utilize tools like Sentry for tracking 404s or API errors on the React frontend.
Team Roles & Access
Define clear access boundaries, separating responsibilities for Developers (code repository) versus Content Writers (WordPress dashboard).
4. Complete Solution: Recovering from a Root Domain WordPress Installation
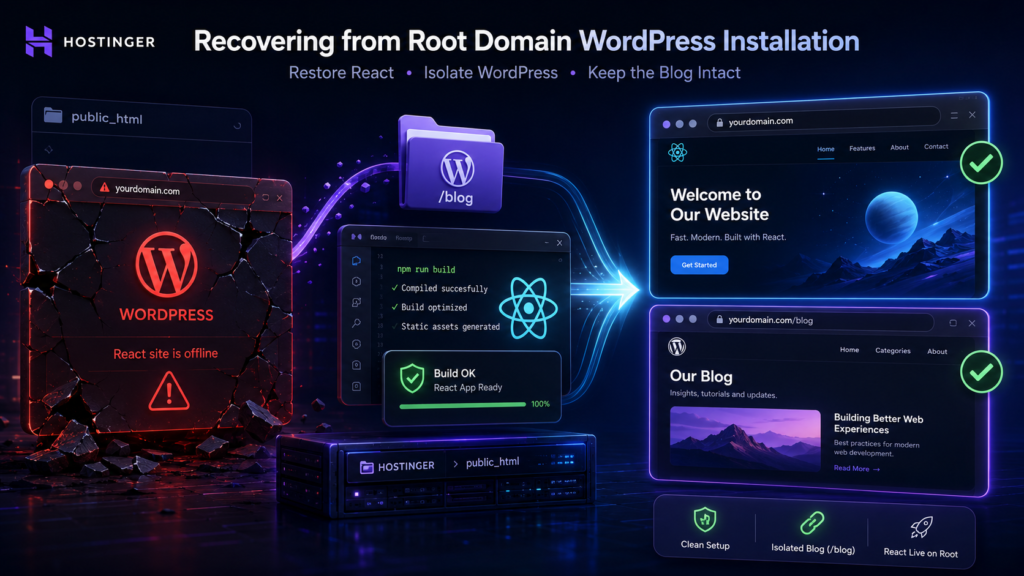
If you accidentally installed WordPress in the root public_html directory and your React website is now offline, follow these steps to restore your React application while keeping your WordPress blog intact.
4.1 Phase 1: Isolate WordPress
Move WordPress files: In your Hostinger File Manager (public_html), create a new folder named blog.
- Move files: Move all WordPress-related files (e.g., wp-admin, wp-content, wp-includes, index.php, .htaccess) inside this new blog folder.
- Update Paths: In your WordPress dashboard, go to Settings > General and update the ‘WordPress Address (URL)’ and ‘Site Address (URL)’ to https://website.in/blog.
4.2 Phase 2: Fix React Build Errors
If your React build is failing due to TypeScript errors, you must clean up your code before deploying:
- Identify Errors: Run npm run build locally. If you see errors like “is declared but its value is never read,” identify the files mentioned (e.g., Home.tsx or Marketing.tsx).
- Clean Code: Open these files and delete the unused imports or variables causing the errors.
- Verify Build: Run npm run build again until you see a success message and a generated dist folder.
4.3 Phase 3: Restore React to Root
Clean Root: Go to the public_html folder in Hostinger. Delete any old index.html or files leftover from the previous React deployment. Crucial: Do not delete the blog folder you created in Phase 1.
- Upload: Open your local dist folder. Upload all the contents inside it (e.g., index.html, assets, favicon.ico) directly into the public_html root.
- Verification: Visit https://website.in to see your React website, and https://website.in/blog to see your WordPress blog.
Answer to the question
1.1 What problem did I face?
During the setup, the biggest problem I faced was not creating the required subdomain in Hostinger. As a result, my website was down for quite a while until I found the cause and fixed it. If you face the same issue, don’t worry—the last section provides a step-by-step solution to help you resolve it.
1.2 Where do you have to be careful?
Explained above
1.3 Why do we need WordPress when we have the sanity and others?
Firstly, I also believed that if there is Sanity and other platforms, then why the fuck do I need WordPress for a blog, but on my one project there is the Sanity cms and because that can only be operated by the person who knows the code at that point if anyone else wants to upload a blog then they can’t thats by I use the WordPress that anyone from the team can use that
5. Answer from you guys
5.1 What problem did you face at the time of setup?
5.2 What do you think I missed to cover in setup?
5.3 If there is any easy method, share it with us?
5.4 Why do you need WordPress unless sanity and other and which one is best? Share your opinion.
Guys, we will talk in the comment section for any suggestions or problems. If that is needed, then I will cover that in the next blog

Be the first to share a thought.